Create a Project
After signing in to Bfloat AI, you can create a new project in two ways: describe your app idea in natural language, or start from a template.Creating a Project
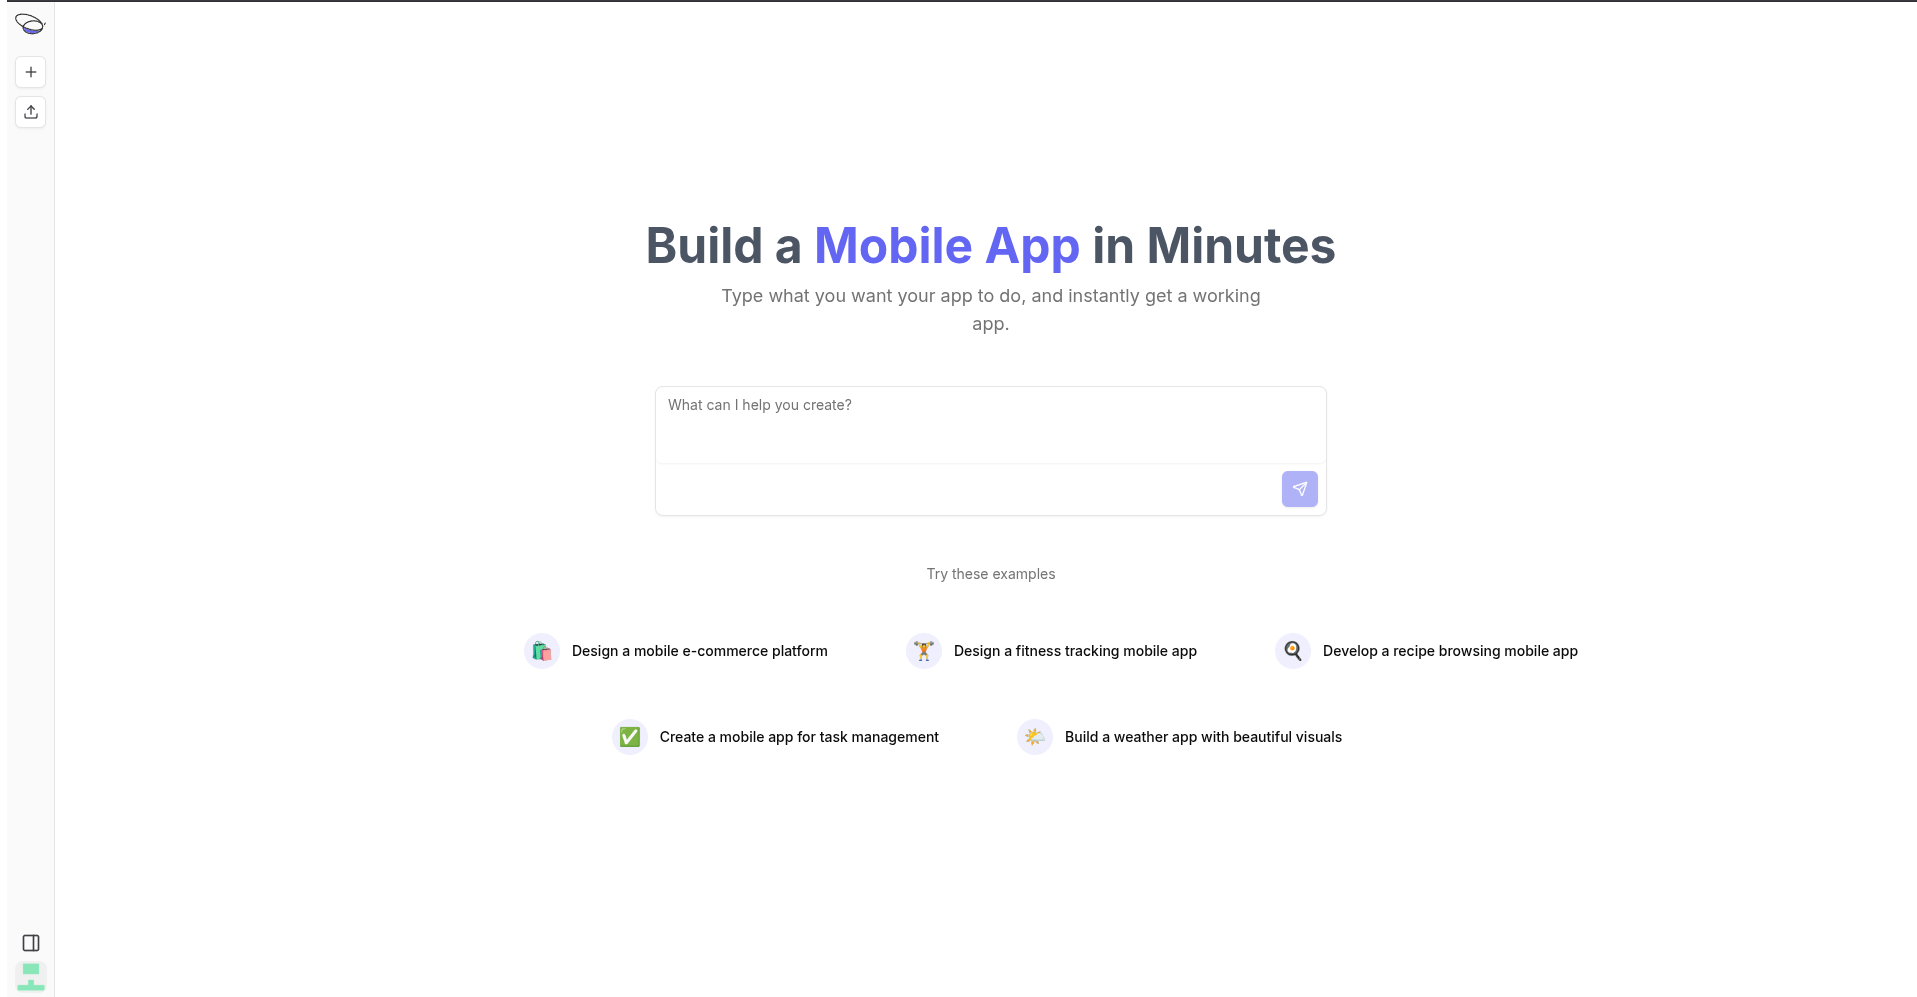
Option 1: Describe Your App
On the dashboard, you’ll see a text area where you can describe your app idea in plain English:- Enter a description of the app you want to build (e.g., “A task management app with due dates and reminders”)
- Click Create to generate your project
- Bfloat’s AI will create the initial codebase based on your description
Option 2: Start from a Template
Choose from pre-built templates to get started quickly:| Template | App Type | Description |
|---|---|---|
| Expo | Mobile | React Native app for iOS and Android |
| Next.js | Web | Full-stack web application |
The Project Workspace
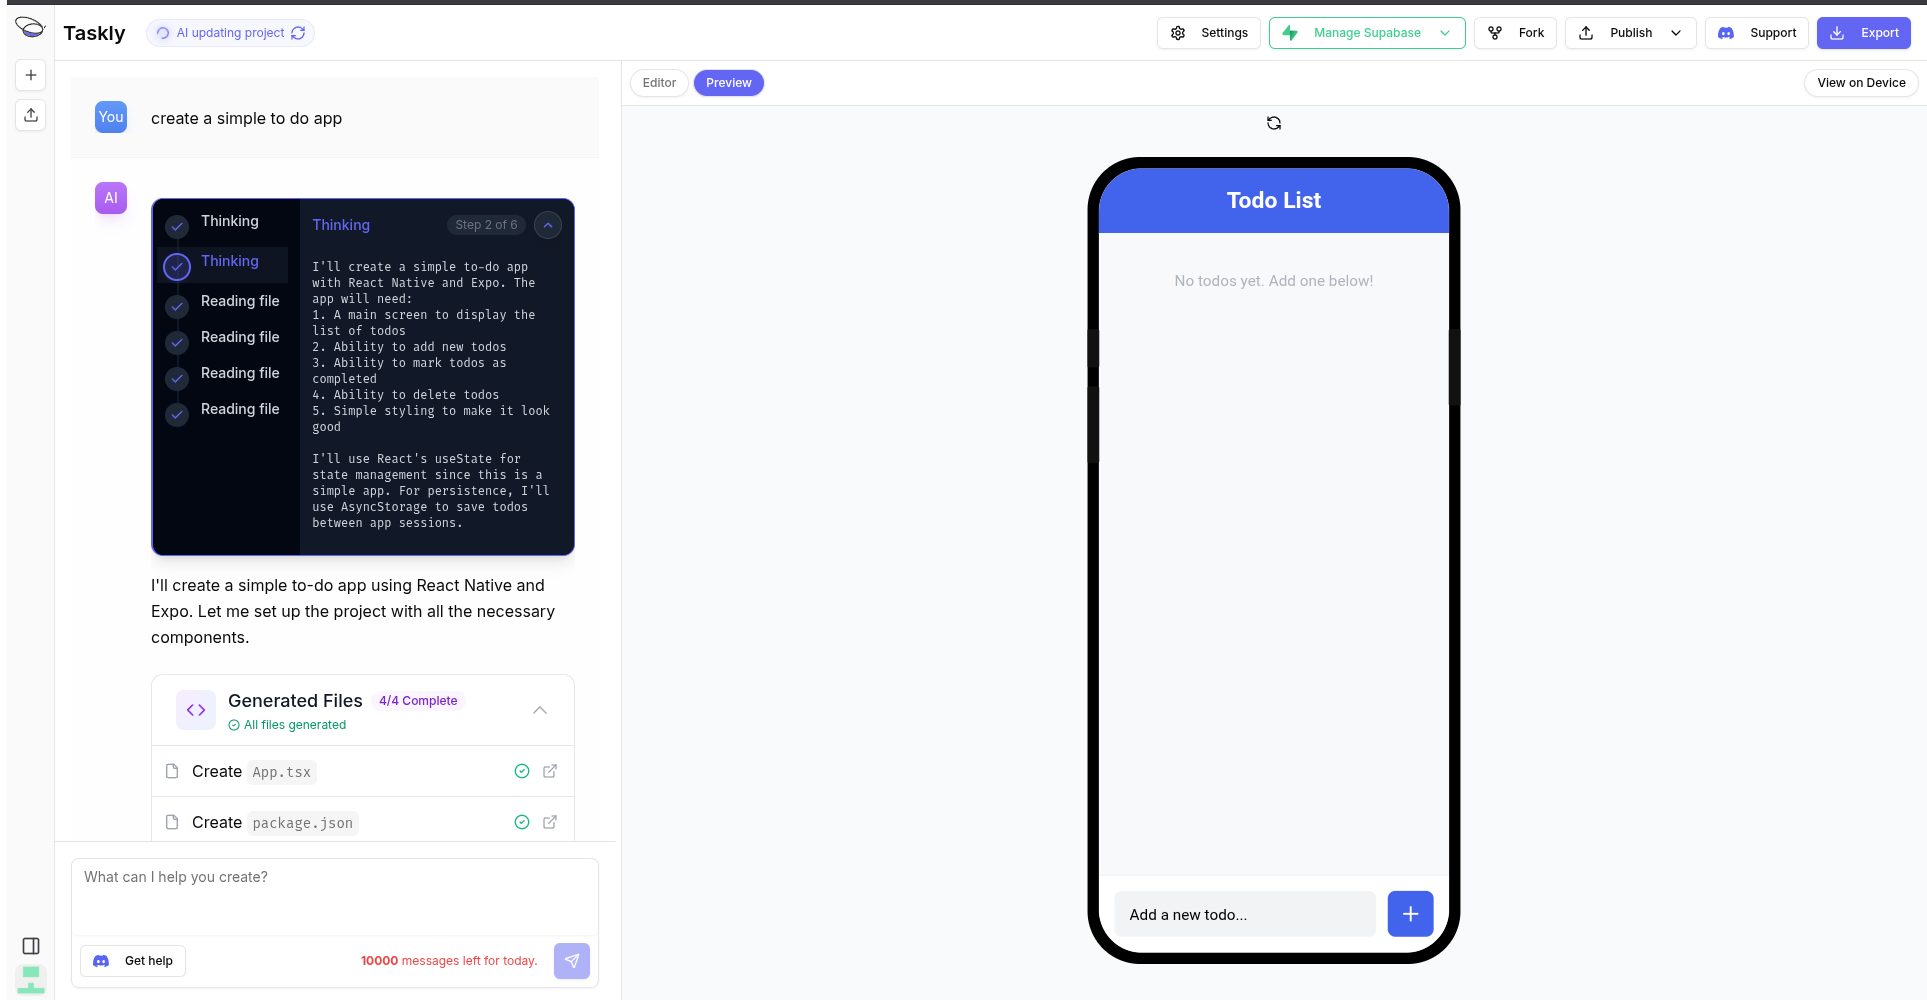
Once your project is created, you’ll be taken to the project workspace where you can:Chat with AI
Use the chat interface to describe features, fix bugs, or modify your app. The AI will update your code in real-time.View Your Code
Browse and edit your project files directly in the browser. All changes are automatically saved to your GitHub repository.Preview Your App
See your app running in the browser preview panel. For mobile apps, you can also preview on your device using Expo Go.Configure Settings
Click the Settings button to configure:- Project title and URL slug
- iOS Bundle Identifier and App ID
- Android Package Name
- App icons
- Integration connections
Publish Your App
Click the Publish button to deploy your app to:- Web (your custom
.bfloat.appdomain) - iOS (App Store via Expo EAS)
- Android (Google Play via Expo EAS)
Project Settings
Access project settings by clicking the Settings button in the top right corner:General Settings
- Project Title: The display name of your project
- Project URL Slug: URL-friendly identifier for web publishing
Platform Identifiers
- iOS Bundle Identifier: Unique identifier for your iOS app (e.g.,
com.yourcompany.appname) - iOS App ID: The App Store Connect identifier
- Android Package Name: Unique identifier for your Android app
App Icons
Upload icons for iOS and Android. Bfloat will automatically generate all required sizes.Integrations
Connect your project to backend services:- Convex - Real-time database and backend
- Stripe - Payment processing (web)
- RevenueCat - In-app purchases (mobile)
- Supabase - Database and auth
Next Steps
After creating your project:- Preview your app on your device or in the browser
- Configure project settings for publishing
- Set up integrations for backend services