Android Publishing
Bfloat uses Expo EAS (Expo Application Services) to build your Android apps and prepare them for Google Play submission. This guide walks you through the complete publishing process.Prerequisites
Before publishing to Android, ensure you have:- A Bfloat AI account
- An Expo Integration configured
- A Google Play Developer account ($25 one-time fee)
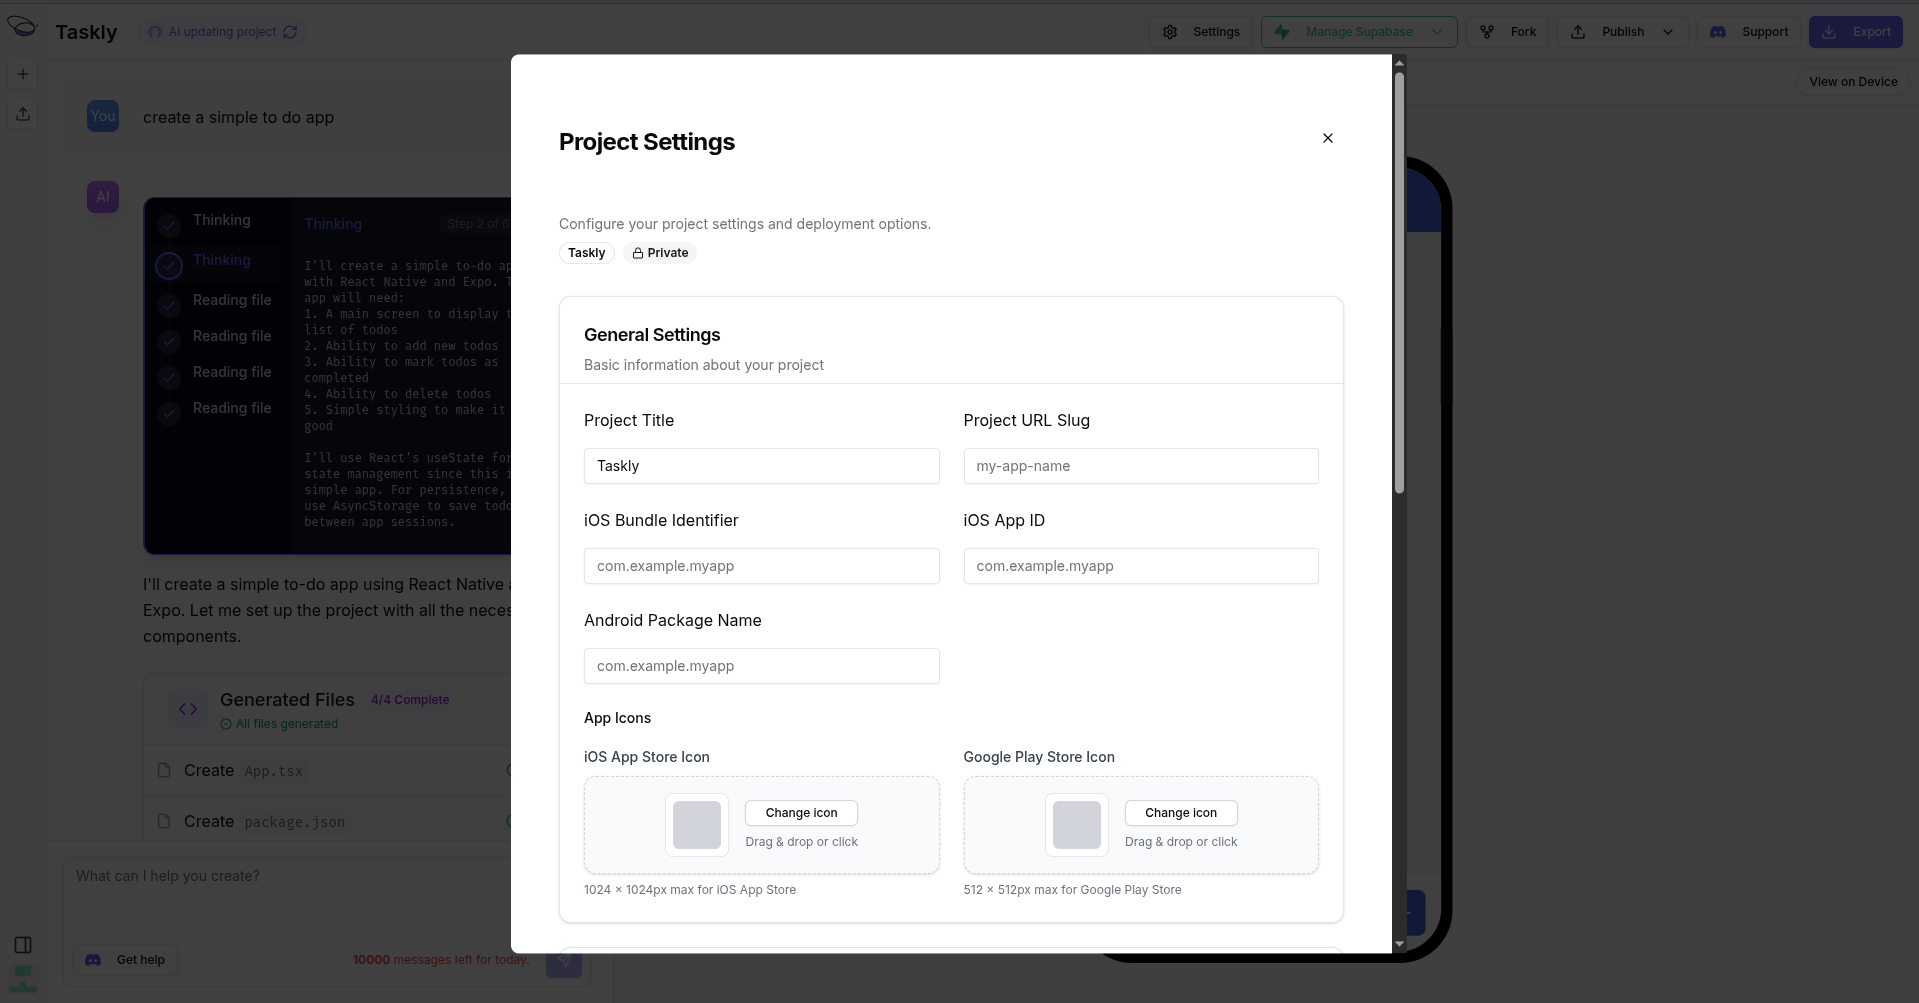
Step 1: Configure Your App
Package Name
Set your Android Package Name in project settings:- Click Settings in your project
- Enter your Android Package Name (e.g.,
com.yourcompany.appname) - Set your Project URL Slug
- Click Save Changes
Your package name must be unique on Google Play and cannot be changed after your app is published.
App Icons
Upload your Android app icon:- Open Settings > App Icons
- Upload a 512x512 PNG image (or larger)
- Bfloat generates adaptive icons automatically
Step 2: Set Up Google Play Console
Create Your App
- Log in to Google Play Console
- Click Create app
- Fill in:
- App name: Your app’s display name
- Default language: Primary language
- App or game: Select app type
- Free or paid: Pricing model
- Accept the declarations
- Click Create app
Configure Store Listing
Before submitting, you’ll need:- App description (short and full)
- Screenshots (phone and tablet)
- Feature graphic (1024x500)
- App icon (512x512)
- Privacy policy URL
- App category
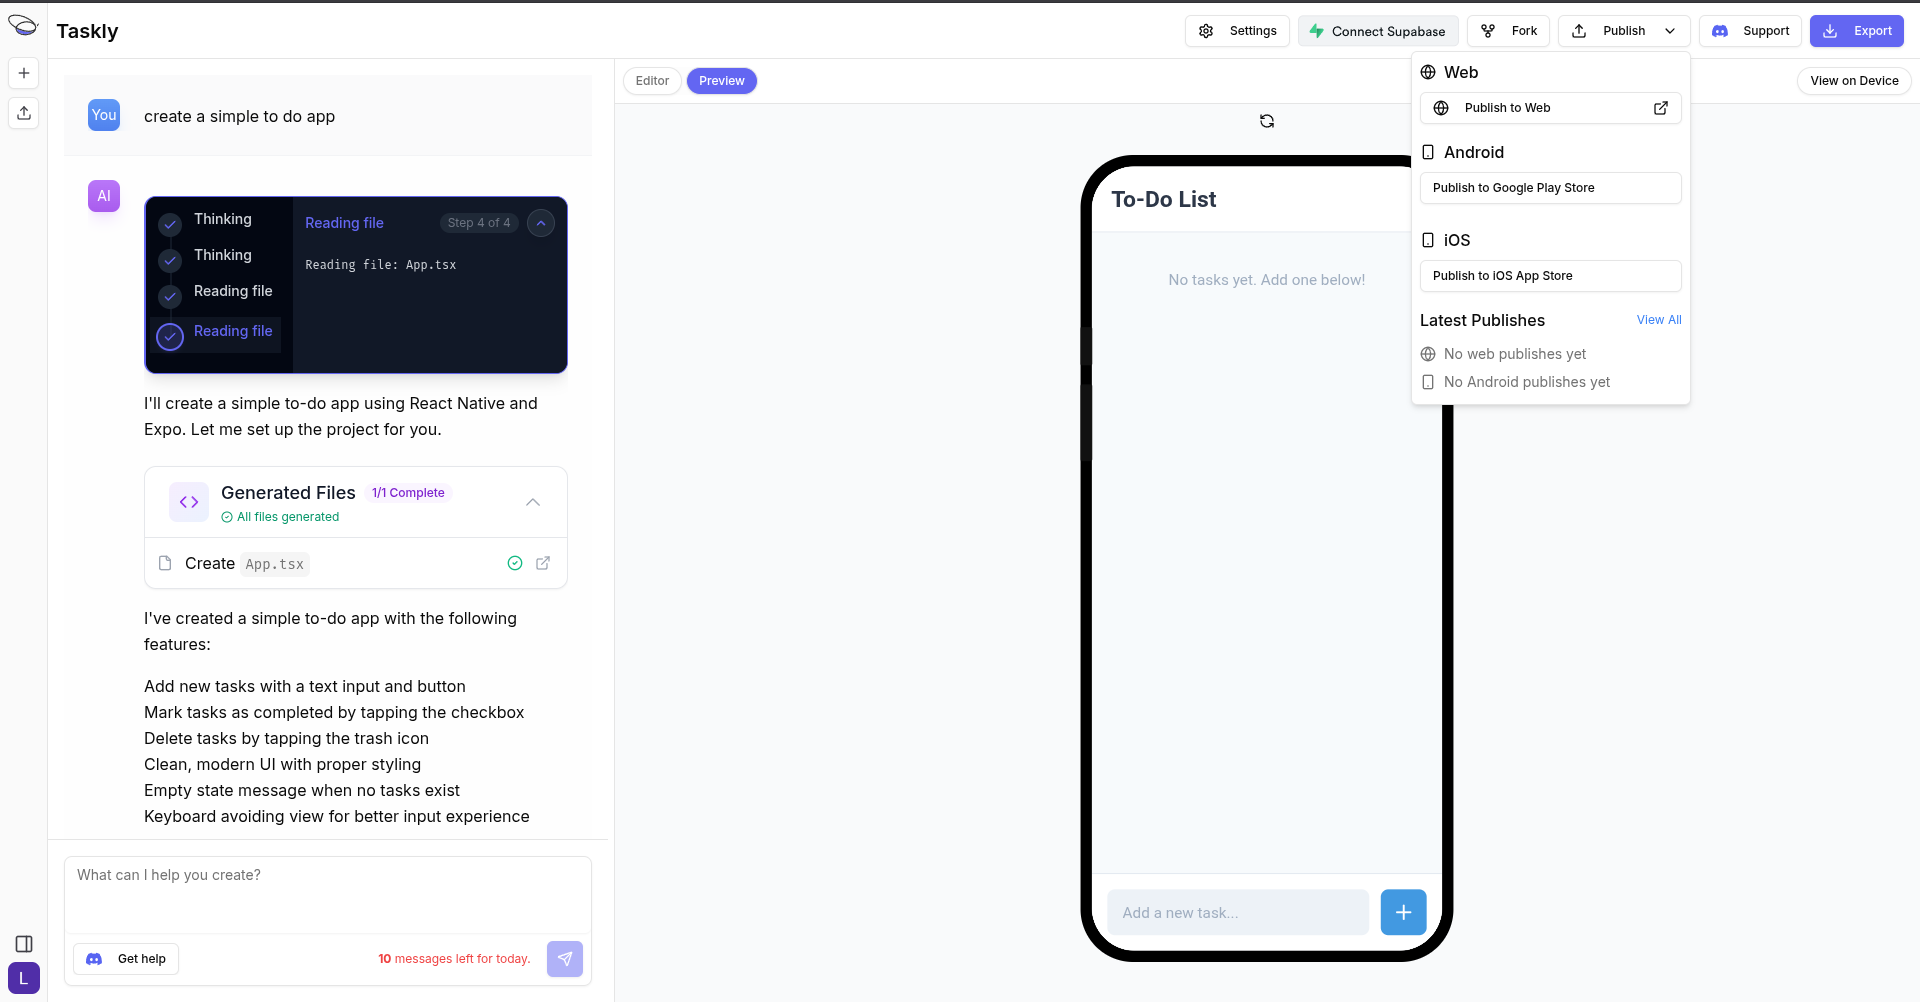
Step 3: Build Your App
- Go to your project page in Bfloat AI
- Click the Publish button
- Select Publish to Android
| Build Phase | Description |
|---|---|
| Queuing | Build added to EAS queue |
| Building | Compiling native Android code |
| Signing | Applying upload key |
| Complete | AAB file ready for upload |
Step 4: Upload to Google Play
After the build completes:- Download the AAB (Android App Bundle) file from the build
- Go to Google Play Console
- Navigate to Release > Production
- Click Create new release
- Upload your AAB file
- Add release notes
- Click Review release
- Click Start rollout to Production
Build Types
| Type | Format | Use Case |
|---|---|---|
| AAB | Android App Bundle | Google Play (recommended) |
| APK | Android Package | Direct installation, testing |
Google Play requires AAB format for new apps. APKs are useful for testing or alternative distribution.
Google Play Review
Google reviews all new app submissions:| Review Phase | Typical Duration |
|---|---|
| Processing | Minutes to hours |
| In Review | 1-7 days (new apps) |
| Approved/Rejected | - |
Common Rejection Reasons
- Missing privacy policy
- Incomplete store listing
- Policy violations
- Broken functionality
Viewing Build Status
Check your build status:- Click Publish button
- Click View All to see all builds
- Check the Expo dashboard for detailed logs
Troubleshooting
Build Failed
- Verify your Expo token has correct permissions
- Check that your package name is valid
- Review build logs in the Expo dashboard
Upload Rejected
- Ensure your AAB is signed correctly
- Verify package name matches Play Console
- Check that version code is incremented
App Rejected by Google
- Review the rejection reason in Play Console
- Fix the identified issues
- Submit a new build
Testing Before Release
Internal Testing
- In Play Console, go to Testing > Internal testing
- Create a release with your AAB
- Add tester email addresses
- Testers can install via Play Store
Preview Build
Use Expo’s preview builds for quick testing:- Build with preview profile
- Install APK directly on device
- Test before submitting to Play Store
Resources
- Expo Integration - Configure EAS Build
- Google Play Developer Documentation
- Play Console Help